


Leather belts are not only a functional accessory but also a fashionable one. But, have you ever thought about creating your own unique belt from scratch? With some basic tools and materials, you can easily craft your own leather belt at home. This tutorial will guide you through the process, step-by-step.
Materials needed:
- Leather strips (1.5 to 2 inches wide and as long as your waist measurement)
- Ruler or measuring tape
- Pencil or fabric chalk
- Hole punch
- Buckle
- Snap fastener (optional)
- Leather glue
- Needle and thread (optional)
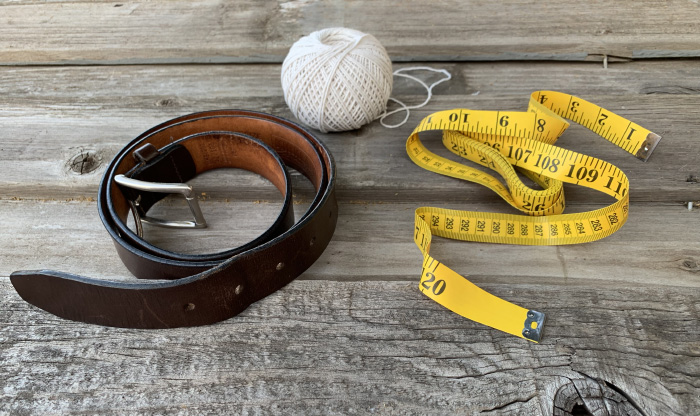
Step 1: Measuring the Leather
Take the measurement of your waist and add a few inches to that number to determine the length of the leather strip. Cut the leather strip to the desired length using a sharp blade or scissors.
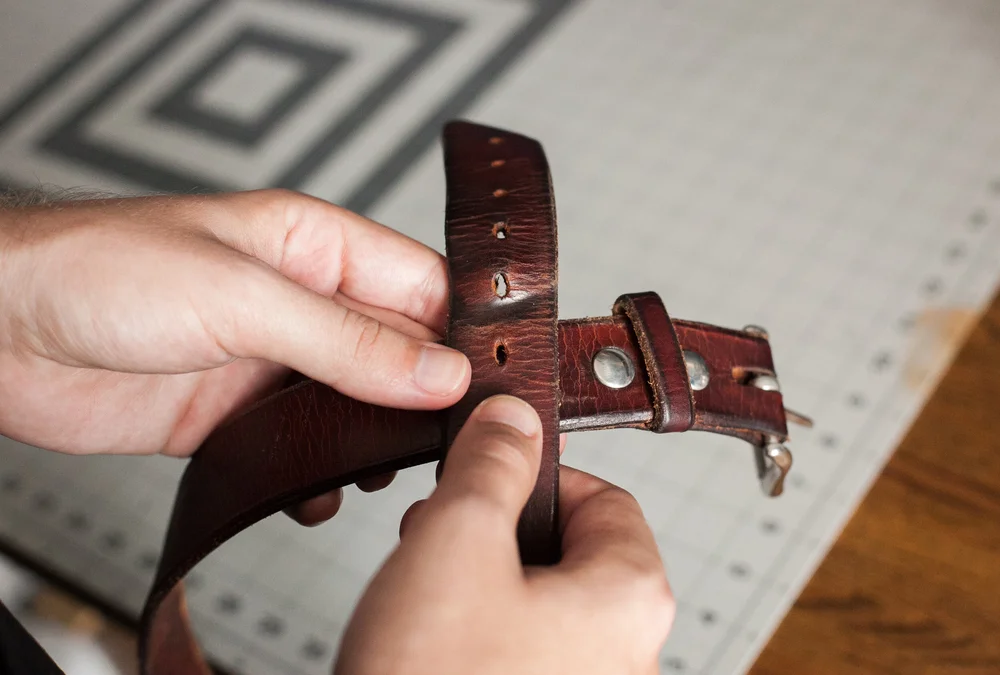
Step 2: Marking and Punching the Holes
Use a ruler or measuring tape to mark equidistant points on the leather strip. The number of holes will depend on your personal preference and waist size. Usually, 5-7 holes are enough. Using a hole punch, make holes at the marked points.

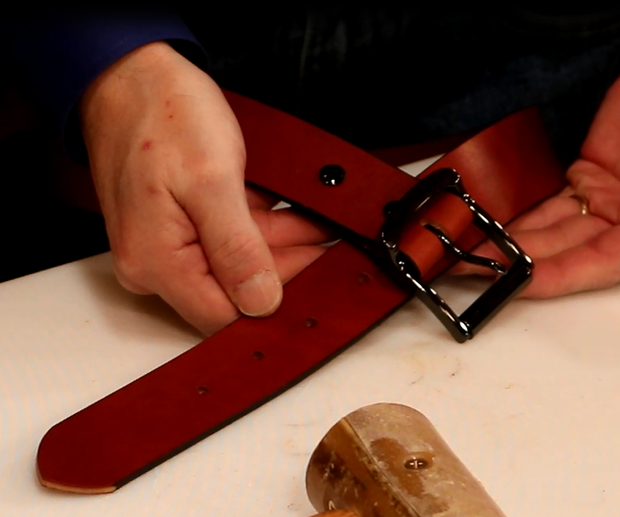
Step 3: Attaching the Buckle
Place the buckle in the center of the leather strip and mark the holes for the buckle prongs. Punch the holes and insert the prongs of the buckle through the holes. You can use leather glue or needle and thread to secure the buckle in place.
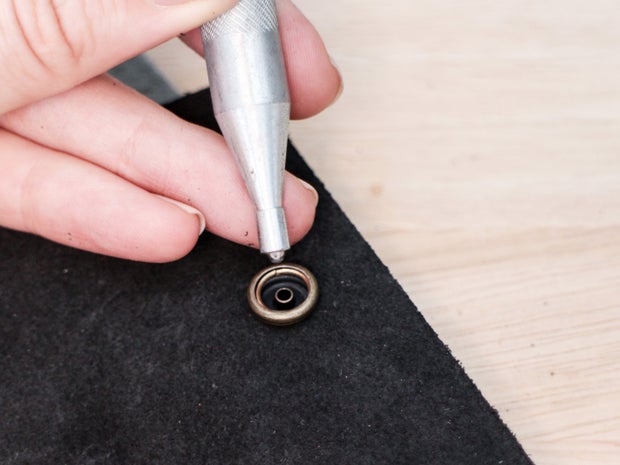
Step 4: Optional: Adding a Snap Fastener
If you want to add a snap fastener to the end of the belt, punch a hole at the end of the leather strip and attach the snap fastener following the manufacturer's instructions.
Step 5: Finishing the Belt
Fold the leather strip in half and put it through the buckle. Adjust the length of the belt to fit your waist and make any necessary cuts. You can use leather glue or needle and thread to secure the end of the belt.
And that’s it! Your own handcrafted leather belt is ready to wear. This tutorial can be customized to your personal preferences by using different colors of leather, different buckle styles, or even adding decorative elements. So, go ahead and experiment with your creativity!
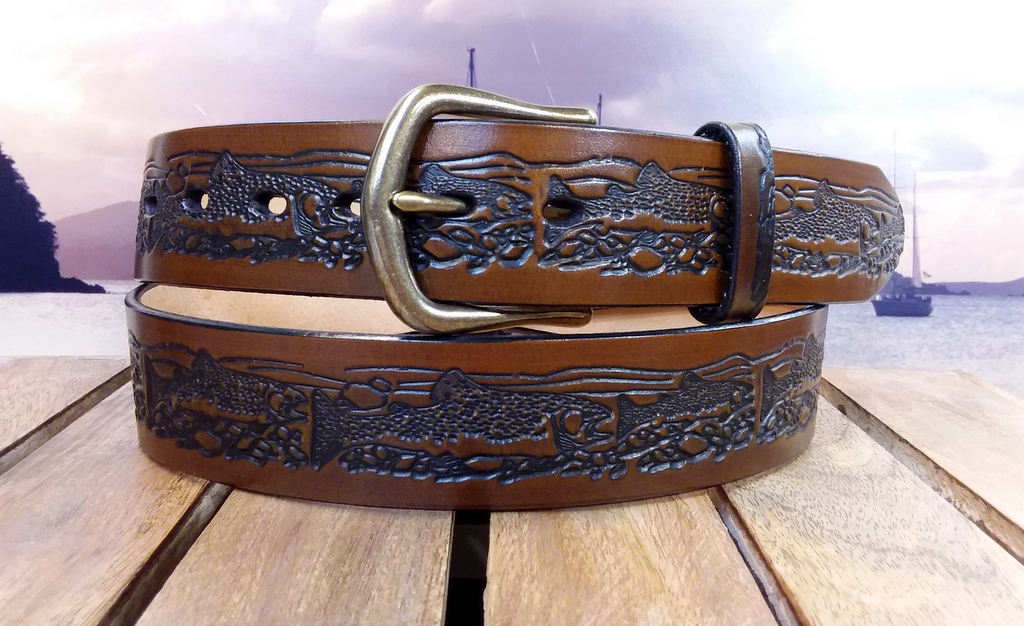
If you found this guide useful, check out our full collection of leather belt here